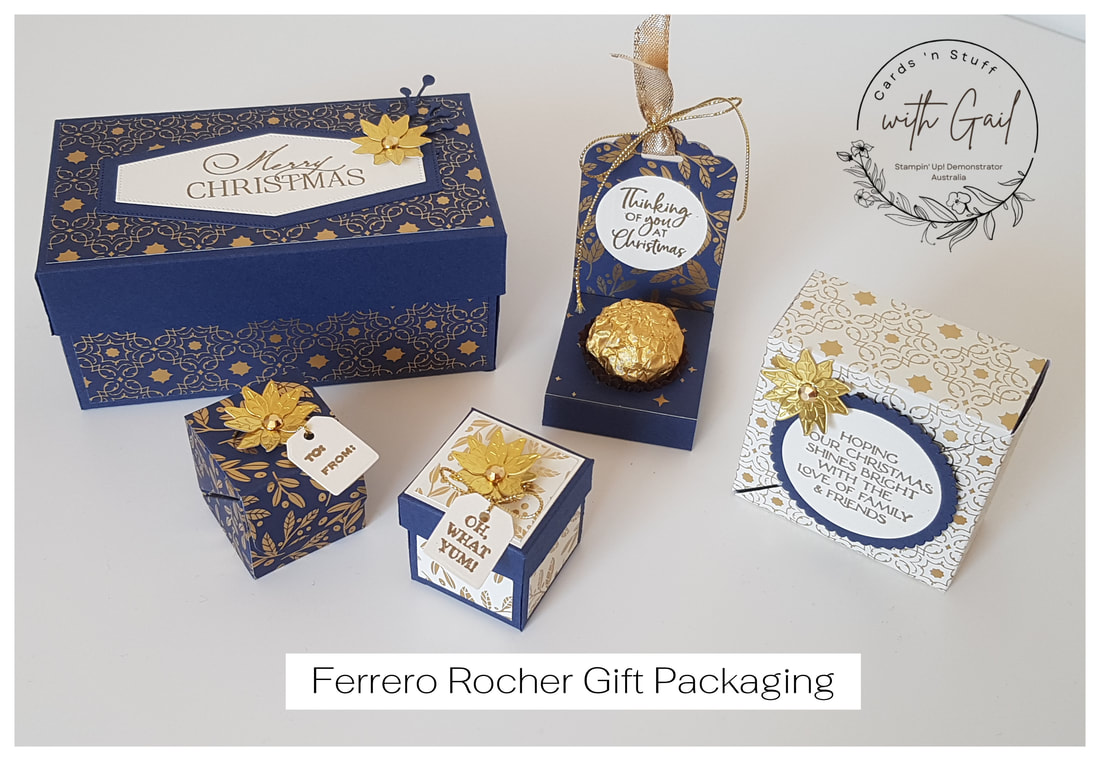
 Hello and welcome to my latest project ideas. Today I have a collection of Ferrero Rocher gift packaging using the gorgeous Shining Brightly Designer Series Paper, which coordinates beautifully with the chocolates. There are five treat boxes:
Here is a sneak peek video of all the projects followed by a slideshow of still photos: If you would like the instructions to make these projects, the Tutorial is now available, worldwide, using Imperial measurements and includes an exclusive YouTube Video Tutorial on the trimming and assembly of each item PDF Tutorial + YouTube video AUD$20 Download information: Once your payment has been approved in Paypal, click on the “Return to Merchant” button for access to your download - "You can download your purchased item(s) below:" Save the file to your computer for future use. You will also receive an email confirmation where you can “View Purchase Online” and access the download for up to 7 days. Cheers and thanks, 
1 Comment
Hello again stampin' friends,
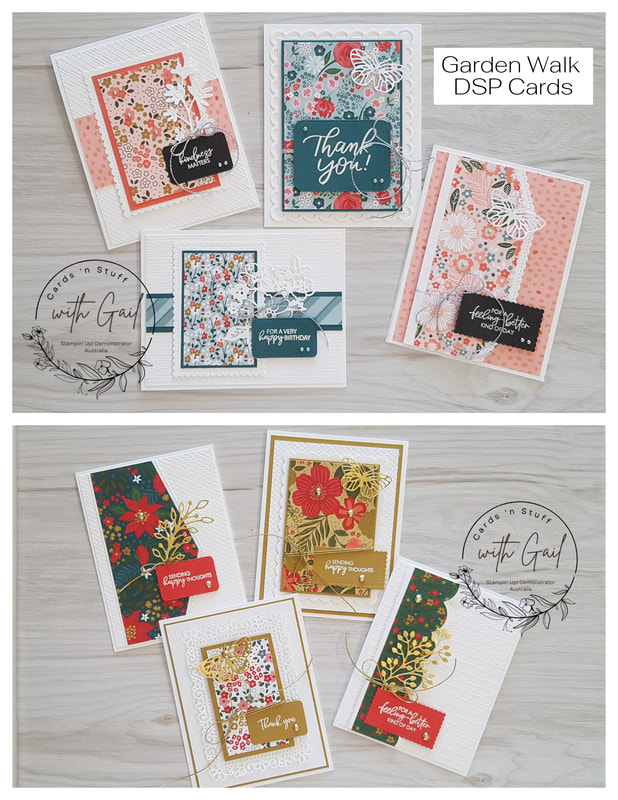
At first glance when I received this Designer Series Paper, I thought "what am I going to do with it?" I let it sit on my craft table for a few days, just waiting for inspiration and finally decided the designs were so busy that they really didn't need a lot to make them into pretty cards. I added lots of white with embossed panels, and used quite a few retired products - namely a couple of my favourites, the Scalloped Contour Dies and Stitched So Sweetly dies. I used all eight designs with a little of the reverse side on some of the cards, some simple die-cut elements with pops of silver and gold trim and gems, making the DSP come to life. As with all my projects, I try to design them with the option of swapping out colours to suit your preferences, and as always, substitute any dies/stamps I may have used.
If you would like the instructions for these cards, the Tutorial is now available, worldwide, using Imperial measurements
for both Australia/UK and US/Canada: PDF Tutorial AUD$15
Download information:
Once your payment has been approved in Paypal, click on the “Return to Merchant” button for access to your download - "You can download your purchased item(s) below:" Save the file to your computer for future use. You will also receive an email confirmation where you can “View Purchase Online” and access the download for up to 7 days.
Cheers and thanks,

Product List

Hello stampin' friends,
Today I'm here to share a new mini album project. I was wanting to design an album that was clean and simple, without all the folds and flaps - just open the album and see all the beautiful photos. I designed two albums in different sizes - the Winter Meadow album on the left is 6" x 6" with six (6) pages and the Delightfully Eclectic album on the right is 5 1/2" x 5 1/2" with four (4) pages. This is a great project for last minute Christmas gifts and to use up all those scraps of pattern paper. As with all my projects, I try to design them with the option of swapping out colours to suit your preferences, and as always, substitute any dies/stamps I may have used.
If you would like the instructions for both albums, with all trimming guides and the exclusive YouTube video on the assembly,
the tutorial is now available, worldwide, using Imperial measurements: PDF Tutorial AUD$20
Download information:
Once your payment has been approved in Paypal, click on the “Return to Merchant” button for access to your download - "You can download your purchased item(s) below:" Save the file to your computer for future use. You will also receive an email confirmation where you can “View Purchase Online” and access the download for up to 7 days.
Cheers and thanks,

Product List
Hello stampin' friends,
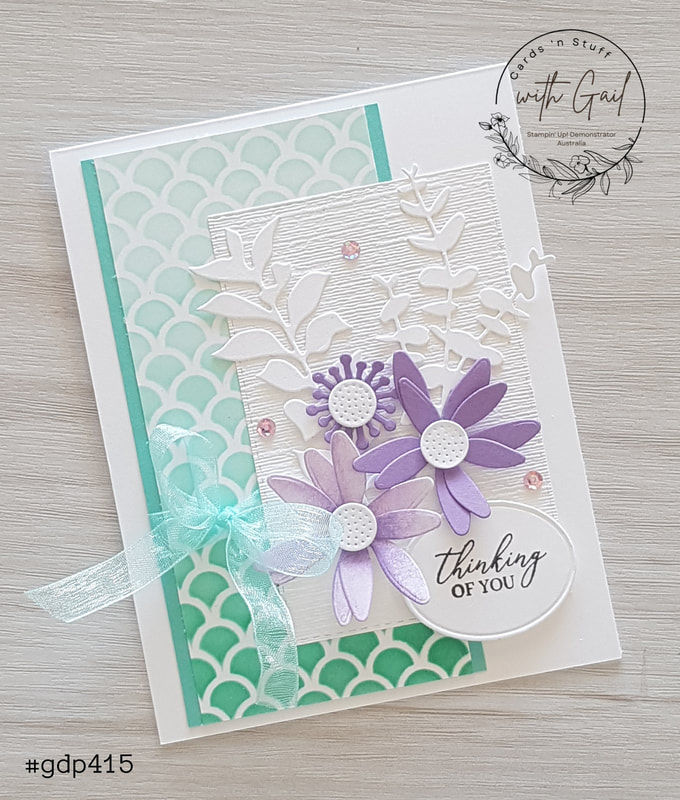
Today I'm sharing my card for the latest Global Design Project #415 "Theme" Challenge. 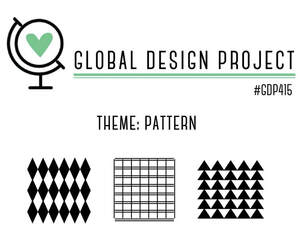
For my "pattern' theme, I pulled out an old mask (not sure of the name) and my Coastal Cabana inkpad and ink blended an ombre pattern on a larger Basic White panel. An ombré is a stripe or pattern with gradual shading and blending from one color to another, in this instance, just the one colour.
The 5 1/4" x 2 1/2" pattern panel is attached to a Coastal Cabana 5 1/4" x 2 3/4" mat piece with ribbon wrapped around the tied off in a bow. I then added an embossed Basic White panel (Subtle 3D EF), some Highland Heather flowers from Paper Florist Dies, one of which was also ink blended on Basic White, a couple of leafy stems from Textured Floral Dies and completed the card with sequins and a Memento stamped sentiment. 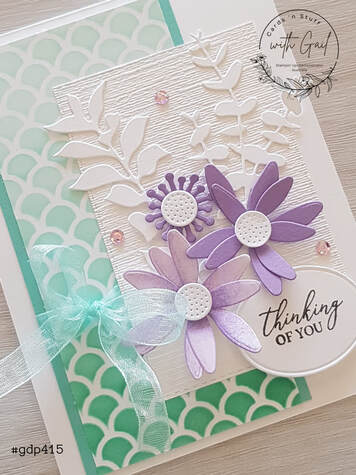
And here, you can watch the video on how to make this card:
Anyone can enter - all you need to do is pop on over to the blog - Global Design Project - and check out the latest challenge.
Cheers, 
Product List
Hello everyone,
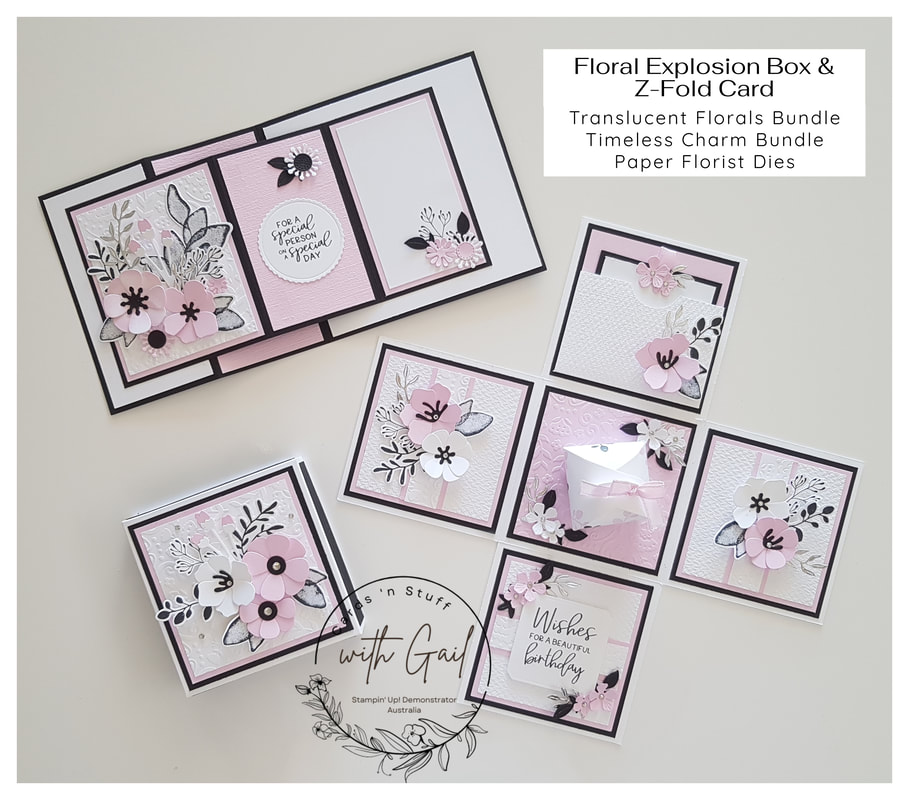
I've been a little busy these last few days designing my latest projects - an Explosion Box with a matching Z-Fold card - using lots of floral elements and going for a pop of colour using my favourite new colour, Bubble Bath, paired with black and white for a nice clean finish. You can find all the products I used at the end of this post. So, let's look at a slideshow of the Z-Fold card first:
And, here's the slideshow for the Explosion Box:
As with all my projects, I try to design them with the option of swapping out colours to suit your preferences, and as always, substitute any dies/stamps I may have used
If you would like the instructions for both projects, including all trimming guides and stamping/die-cutting the elements, the PDF Tutorial is now available, worldwide, using Imperial measurements:
PDF Tutorial AUD$20
Download information:
Once your payment has been approved in Paypal, click on the “Return to Merchant” button for access to your download - "You can download your purchased item(s) below:" Save the file to your computer for future use. You will also receive an email confirmation where you can “View Purchase Online” and access the download for up to 7 days.
Cheers and thanks,

Product List
|
Archives
May 2024
Categories
The content of this website is the sole responsibility of Gail Ellis, Independent Stampin' Up! Demonstrator. The use of and content of the classes, services, or products offered on this website is not endorsed by Stampin' Up! Some stamped images on this site are copyright Stampin' Up! 1990-Current. Designs on this page are copyright Gail Ellis unless otherwise attributed. I am honoured and happy if you like my cards and ideas and want to CASE, all I ask for is a link back to my original post (or even just my blog) and a credit where you publish. My intention is always to give credit when inspired by others - apologies for any omissions. All designs and tutorials are for your personal inspiration only. Thank you for respecting these guidelines. Much appreciated! |

 Designer Series Paper")
")
")


 Designer Series Paper")


 Designer Series Paper")


")


 Sheer Ribbon")

")

")
")


 Cardstock")


 Sheer Ribbon Combo Pack")
 RSS Feed